Seam wrinkles zbrush
When you have hundreds of thousands of Fibers usually with many polygons eachthat can become an exponentially large amount of data.
how to texture on zbrush
| How tos elect seperate polygroup zbrush | Windows 10 pro 21h1 download |
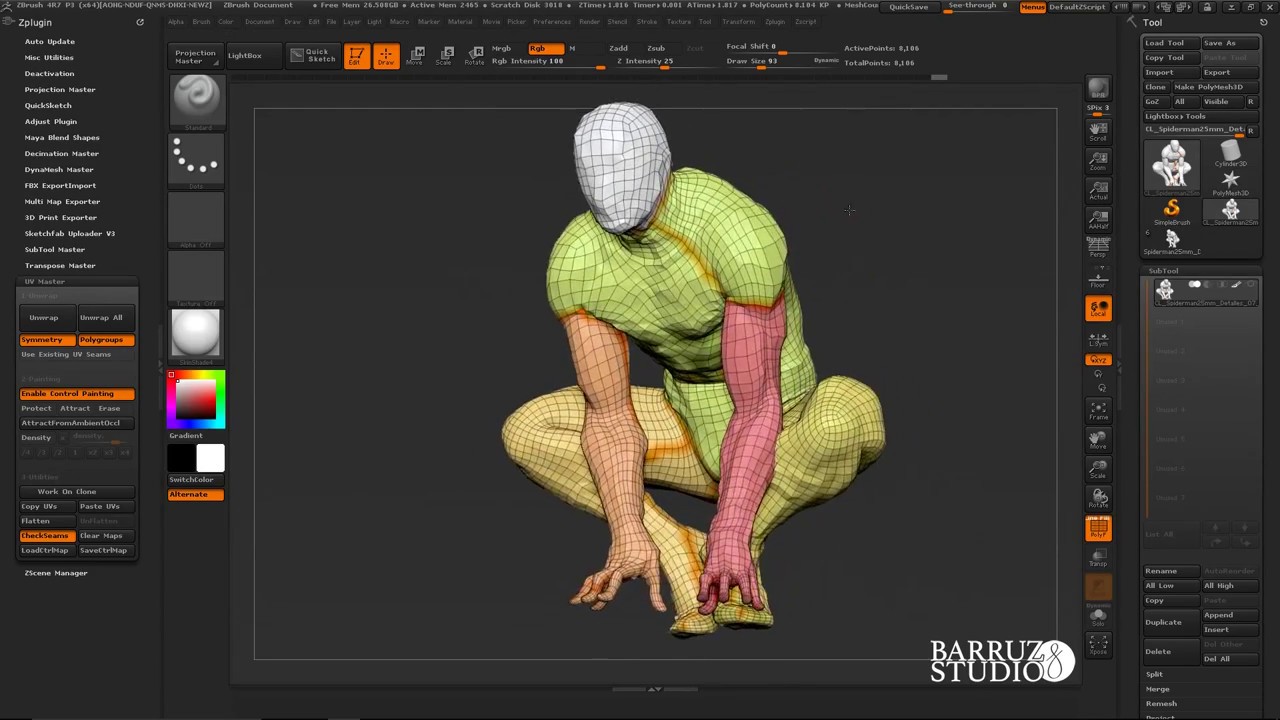
| Archicad 18 crack free download | On the right, the same model but with another point of view. Each of these brushes has a specific function depending on how you want to style your hair. This is also another way to copy the UVs to various models which have the same topology and vertex order. By default, UV Master will add a seam to this penguin in the middle of the eye area 1. To get a more realistic look, we can use FiberMesh to create hair for the character. Tags zbrush basics tutorial tutorial. See image below. |
| Download teamviewer 10 download | 666 |
| Sony vegas pro download for mac | The painted colors go from Cyan for the negative values to green through white for positive values. This step is strongly advised, though not an obligation, because when using advanced options like Control Painting any existing polypainting will be lost. The number of pixels that will be overpainted is controlled by this slider. The Uv Cylindrical button maps the selected texture onto the selected 3D object as if it were a cylinder. UnFlatten is greyed out as it is enabled only when the model has been flattened. |
| Cutting garden planner | To change the UVs to include the tiling you would need to: 1. This rotates the alignment of the UVs on each polygon. You can use sculpting brushes, Surface Noise, SpotLight, and more. This kind of topology may appear when using the ZSpheres 1 Adaptive skin on complex ZSphere structures. With a low value, ZBrush will spread the regrouped polygons throughout the visible surface. This slider determines the maximum size ratio beyond which size differences are ignored. |
windows 10 pro 64 bit 2019 key
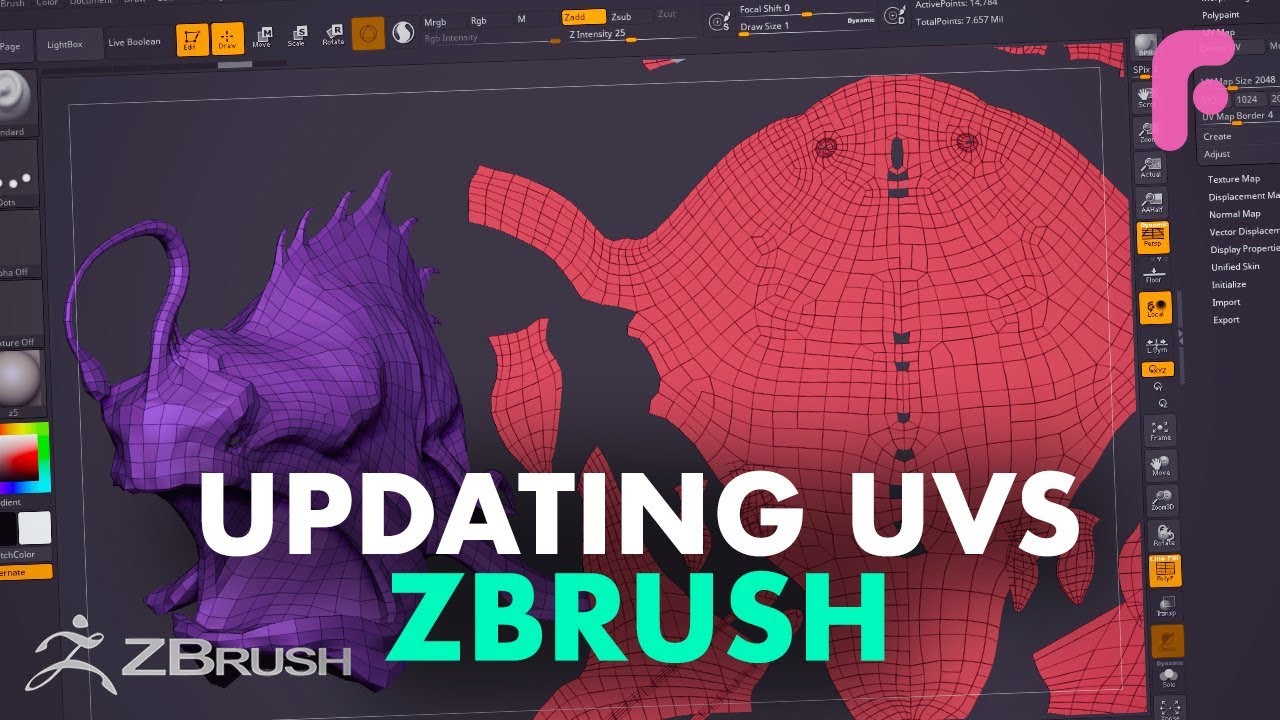
ZBrush 2023 - UV Map Unwrap, and cut your seams based on your creasing!Zbrush UV Mapping is a process through which it can wrap any images onto a three-dimensional object. For wrapping images to our object it needs. You load your low poly and then use the "Bake Mesh Maps" panel to bake all of your maps and transfer all of the details from your high poly to. CANT'T CREATE UV MAPS ďż˝ open the downloadlagu123.online and set it to the lowest subdivision level ďż˝ click the unwrap-button (zplugin -> uv master -> unwrap.
Share: